Introduction
Welcome to indoor photography! Taking great photos inside can be tricky but fun. This blog post will help you understand why indoor photos matter and how to tackle common challenges. We’ll cover everything from working with light to adjusting your camera settings, giving you tips to take amazing indoor pictures.
Indoor photography lets you capture special moments, create portraits, or show off interior designs. But it can be tough due to low light, small spaces, and mixed lighting. Don’t worry – we’ll help you overcome these issues with easy-to-follow advice.
In this post, we’ll talk about important topics like using light effectively, setting up your camera correctly, choosing the right gear, and framing your shots well. We’ll also give you real-life examples and tips for editing your photos. So, get your camera ready, and let’s learn how to turn your indoor spaces into great photo opportunities!
Understanding Light in Indoor Settings
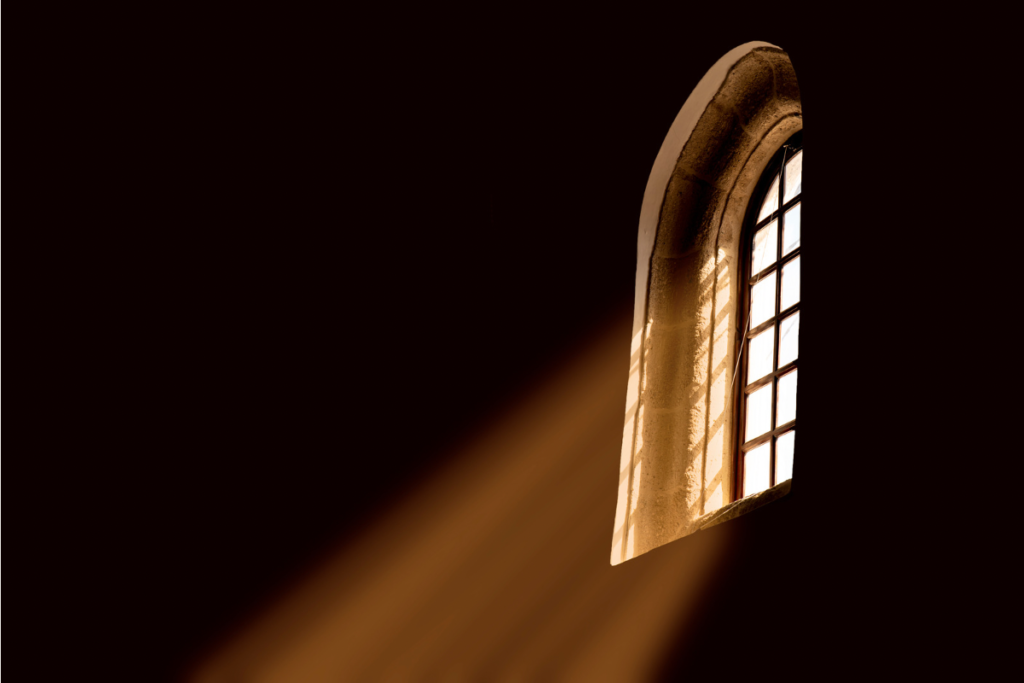
When shooting indoors, you’ll encounter two main types of light: natural and artificial. Natural light comes from windows and doors, while artificial light includes lamps, overhead lights, and other indoor lighting fixtures. The key is to identify these light sources in your environment and understand how they affect your photos.
Here are some tips to master indoor lighting:
- Window light: Position your subject near a window for soft, flattering light. The larger the window, the softer the light. Experiment with different distances and angles from the window to achieve various effects.
- Diffuse harsh light: If direct sunlight is too strong, use sheer curtains or a white sheet to diffuse it, creating a softer, more even light.
- Reflect light: Use a white foam board or a reflector to bounce light back onto your subject, filling in shadows and creating a more balanced exposure.
- Artificial light: Be aware of the color temperature of your artificial lights. Incandescent bulbs produce warm, yellowish light, while fluorescent lights can cast a cool, greenish tint. Adjust your white balance accordingly or use gels on your lights to correct color casts.
- Mixed lighting: When dealing with both natural and artificial light, try to use one as your main light source and adjust the others to complement it. This helps maintain consistent color temperature in your images.
Remember, light is your paintbrush in photography. Observe how it falls on your subject, creates shadows, and affects the mood of your image. With practice, you’ll develop an intuitive understanding of light and how to use it to create stunning indoor photographs.
Camera Settings for Indoor Photography in Various Lighting Conditions
To capture excellent indoor photos, it’s crucial to understand three key camera settings: ISO, aperture, and shutter speed. Here’s a straightforward guide to help you navigate these settings:
1. ISO: This setting increases your camera’s sensitivity to light. In dimly lit rooms, opt for a higher ISO (such as 800), but be cautious—excessively high ISOs can introduce graininess to your photos.
2. Aperture: This refers to the size of your lens opening. A wider aperture (lower f-number like f/2.8) allows more light in and creates a pleasing background blur, ideal for portraits.
3. Shutter Speed: This determines the duration of your camera’s exposure. As a rule of thumb, use a speed that’s at least 1 divided by your lens focal length. For instance, with a 50mm lens, aim for at least 1/50 second. Opt for faster speeds when capturing moving subjects.
4. White Balance: This setting adjusts for varying indoor light colors. Begin with Auto, but don’t hesitate to experiment with other presets like Tungsten for warm indoor lighting if colors appear off.
5. Metering Mode: This helps your camera determine the appropriate exposure. Utilize spot or center-weighted metering to prioritize your main subject, particularly when there’s a significant brightness difference between the subject and background.
Essential Equipment for Indoor Photography
Essential equipment can make a world of difference in indoor photography. Here’s a breakdown of key items that can elevate your indoor shots:
- Tripods: These are crucial for indoor photography. They help eliminate camera shake, especially in low-light conditions where slower shutter speeds are necessary. A stable tripod allows you to use lower ISOs, resulting in cleaner images with less noise.
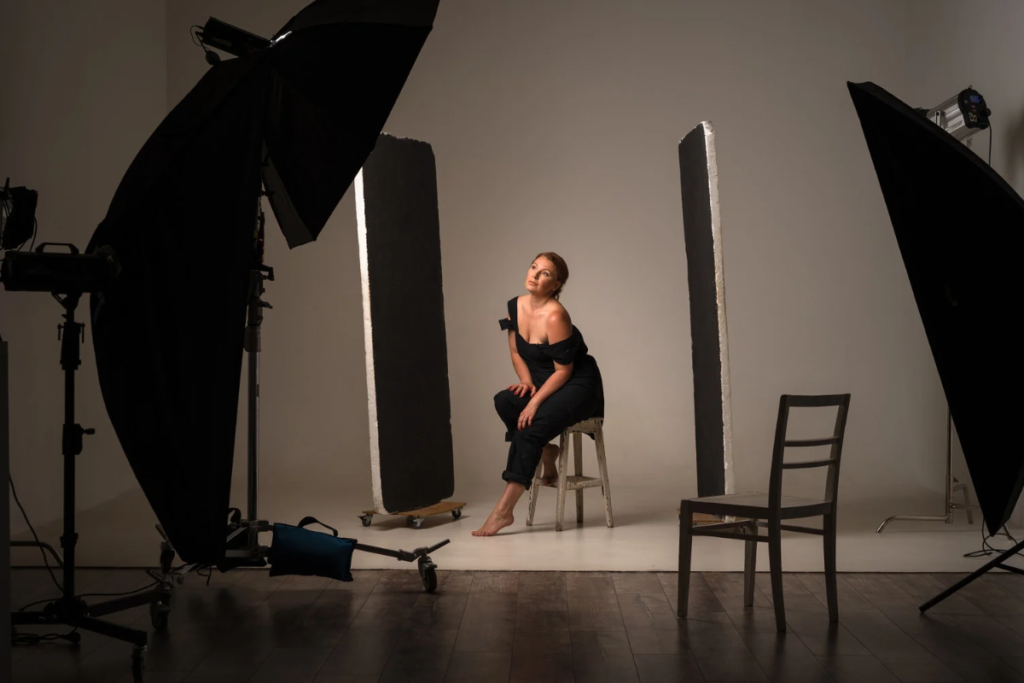
- External flashes and light modifiers: These tools are invaluable for controlling light indoors. An external flash gives you more power and flexibility than your camera’s built-in flash. Pair it with modifiers like softboxes or umbrellas to soften the light and create more flattering illumination for your subjects.
- Lenses for indoor shooting: The right lens can significantly impact your indoor photos. Fast lenses with wide apertures (like f/1.8 or f/2.8) are excellent for low-light conditions, allowing you to capture more light and create a shallow depth of field. Wide-angle lenses can be useful for capturing entire rooms, while a standard zoom lens offers versatility for various indoor scenarios.
- Reflectors: These affordable tools can bounce light back onto your subject, filling in shadows and creating more balanced lighting. White foam boards can serve as budget-friendly alternatives.
- Color checker card: This helps ensure accurate color reproduction, especially when dealing with mixed lighting sources common in indoor settings.
Composition Techniques for Indoor Shots
Composition is key to creating visually appealing indoor photographs. Let’s explore some effective techniques to enhance your indoor shots:
- Rule of Thirds in Confined Spaces: Even in tight indoor areas, the rule of thirds can work wonders. Imagine dividing your frame into a 3×3 grid and place key elements along these lines or at their intersections. This creates a more balanced and interesting composition.
- Using Leading Lines: Interior settings often provide natural leading lines – think staircases, hallways, or even the edges of furniture. Use these to guide the viewer’s eye through the image and towards your main subject.
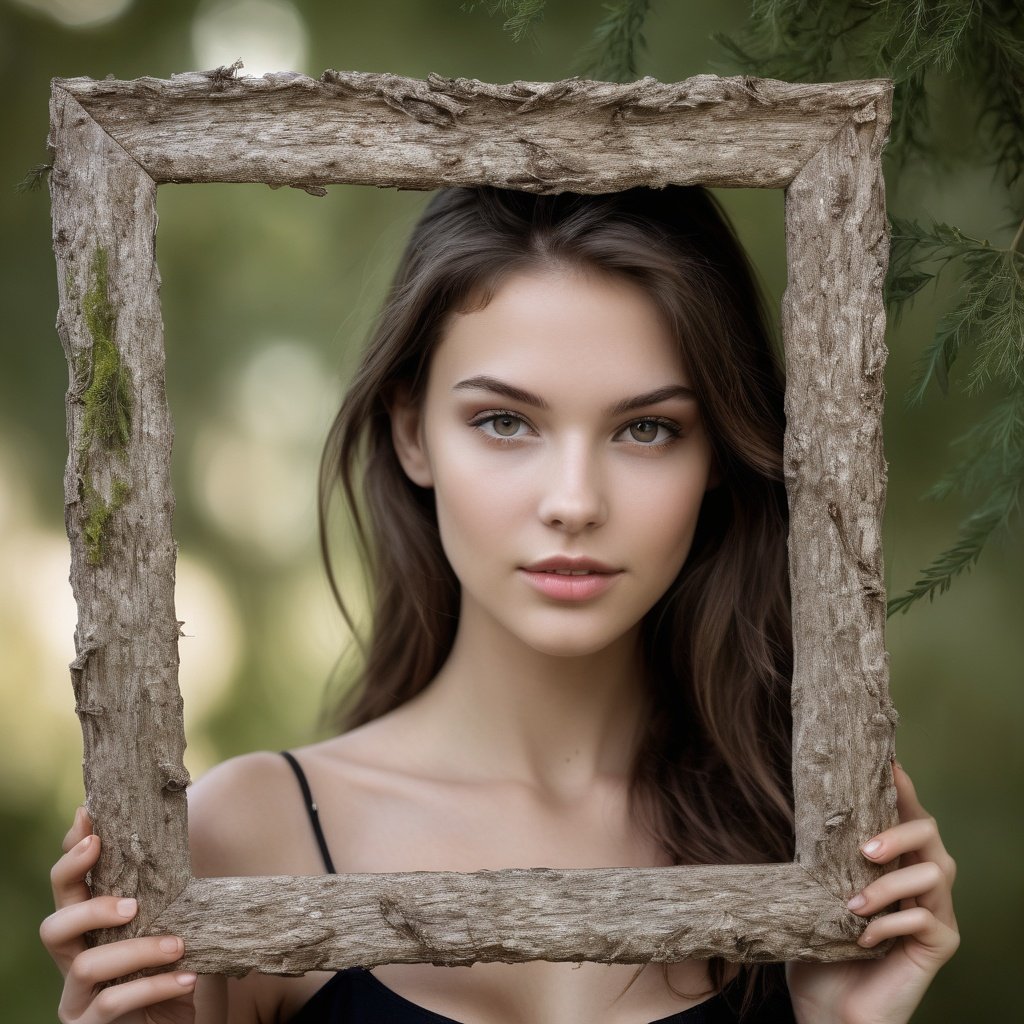
- Framing with Doorways and Windows: Doors and windows make excellent natural frames. Position your subject within these elements to add depth and context to your shots.
- Utilize Negative Space: Don’t be afraid of empty areas in your frame. Negative space can help emphasize your subject and create a sense of simplicity or minimalism in your indoor photos.
- Play with Symmetry and Patterns: Indoor environments often feature symmetrical elements or repeating patterns. Use these to create visually striking compositions.
- Experiment with Angles: Change your perspective by shooting from low angles or high vantage points. This can make familiar indoor spaces look fresh and interesting.
- Layer Your Compositions: Include foreground, middle-ground, and background elements to add depth to your indoor shots. This technique works particularly well in larger indoor spaces.
Dealing with Common Indoor Photography Challenges
Dealing with common indoor photography challenges can be tricky, but with the right techniques, you can overcome them and capture stunning images. Let’s dive into some key challenges and how to address them:
1. Combating low light situations:
- Increase your ISO, but be cautious of noise. Start around ISO 800 and adjust as needed.
- Use a wider aperture (lower f-number) to let in more light.
- Slow down your shutter speed, but use a tripod to avoid camera shake.
- Consider using an external flash or continuous LED light to brighten the scene.
2. Minimizing blur in your photos:
- Use a faster shutter speed, especially when photographing moving subjects.
- Stabilize your camera with a tripod or by bracing yourself against a wall.
- Enable your camera’s image stabilization feature if available.
- Try burst mode to increase your chances of capturing a sharp image.
3. Handling mixed lighting sources:
- Set a custom white balance or use the appropriate white balance preset for the dominant light source.
- Use gels on your flash or lights to match the color temperature of the ambient light.
- Consider converting to black and white if color casts are too difficult to correct.
- Use RAW format for greater flexibility in post-processing to adjust white balance.
Post-Processing Tips for Indoor Photos
Post-processing is a crucial step in indoor photography that can elevate your images from good to great. Here are some essential tips and techniques to enhance your indoor photos:
- Adjusting exposure and contrast: Start by fine-tuning the overall brightness of your image. Increase exposure if your photo is too dark, but be careful not to overexpose highlights. Then, adjust the contrast to add depth and make your image pop.
- Correcting white balance: Indoor lighting can often result in color casts. Use the white balance tool in your editing software to neutralize any unwanted tints and achieve natural-looking colors.
- Noise reduction: High ISO settings often used in low-light indoor situations can introduce noise. Apply noise reduction carefully to smooth out graininess without losing important details.
- Sharpening: Enhance the overall clarity of your image by applying subtle sharpening. Be careful not to overdo it, as excessive sharpening can create unnatural-looking results.
- Adjusting shadows and highlights: Use the shadows and highlights tools to recover details in dark areas and tone down overly bright spots, creating a more balanced image.
- Local adjustments: Use brushes or gradient tools to make selective adjustments to specific areas of your photo, such as brightening a subject’s face or darkening a distracting background element.
- Cropping and straightening: Fine-tune your composition by cropping out distracting elements and ensuring your horizontals and verticals are perfectly aligned.
The key to successful post-processing is subtlety. Aim for natural-looking results that enhance your indoor photos without making them appear overly edited. Always shoot in RAW format if possible, as it provides greater flexibility for adjustments in post-processing.

Practical Examples and Scenarios
Let’s dive into some practical examples and scenarios for taking better photographs indoors. These real-world situations will help you apply the techniques we’ve discussed:
1. Photographing in living rooms:
- Use window light to your advantage. Position your subject near a large window for soft, flattering light.
- Experiment with different angles. Try shooting from a low angle to make the room appear larger, or from a high vantage point for a unique perspective.
- Use the rule of thirds to compose your shot, placing key elements along the grid lines.
2. Capturing moments in the kitchen:
- Be aware of mixed lighting sources. Kitchens often have both natural and artificial light. Try to use one as your main light source and adjust the others to complement it.
- Use leading lines created by countertops or kitchen islands to guide the viewer’s eye through the image.
- For food photography, consider using a tripod to allow for longer exposures in low light conditions.
3. Taking portraits indoors:
- Position your subject near a window for soft, flattering light. Experiment with different distances and angles from the window to achieve various effects.
- Use a wider aperture (lower f-number) to create a pleasing background blur, ideal for portraits.
- Consider using a reflector or white foam board to bounce light back onto your subject, filling in shadows.
Conclusion
The best way to get better at indoor photography is to practice a lot. Try new things, play with different lights, and be creative. Every room in your house can be a great place for taking photos, from cozy living rooms to busy kitchens.
We’d love to hear about your indoor photo experiences! Share your tips, challenges you’ve overcome, or your favorite indoor photos in the comments. Your ideas could help other photographers and make our community stronger.
Now, pick up your camera, look around your home with fresh eyes, and start taking photos of the beauty inside. Happy Shooting!

